The Secret to an Epoxy Flooring DIY (And Why 9 out of 10 DIY Epoxy Flooring Projects Fail)?


Epoxy flooring looks simple enough from the outside. You have seen the video on YouTube — some guy rolls it on a Saturday afternoon, the garage is transformed overnight. What those videos fail to show is that a month down the road, the surface starts to lift, or the coating peels away in sheets the moment a vehicle parks on it. It costs what it costs to have it done right. Here's what the process genuinely requires quality epoxy
Surface preparation is where most people fall short.
That concrete cannot just have epoxy rolled onto it until you are certain it is clean. Not "mopped and swept" clean. Cleaned both chemically and mechanically. Any grease, old paint, curing compounds, or efflorescence — and you'll be pulling sheets of epoxy off the floor within months.
The gold standard is diamond grinding. A rental grinder with a 30-grit diamond cup wheel opens up the pores of the concrete. Acid etching can also work but is messier, less predictable, and the salts must be neutralized and fully rinsed. Ignore prep and the floor will fail within the year.
Moisture is the hidden enemy of epoxy. Slabs allow vapor to pass through them. With any liquid vapor rising through the slab — which is common in garages and basements — your epoxy will eventually delaminate. Test for it. Tape a plastic sheet to the concrete and leave it overnight to check for moisture. Address moisture with the right primer system before proceeding.
Proper mixing is essential.
Epoxy comes as a two-component system: resin and hardener. The ratio matters — 2:1 or 3:1 by volume — and eyeballing it is not an option. Skimp on the hardener and the floor may never fully cure. Over-catalyze it and the pot life drops dramatically. You may not even finish rolling before the epoxy gels.
Attach a paddle mixer to your drill. Blend the components for a full two to three minutes. Scrape the sides and bottom of the bucket. Allow the mixed epoxy to rest for the manufacturer-specified induction time before applying. That waiting period is chemistry, not filler advice.
Weather conditions matter more than most people realize.
Epoxy reacts poorly to extreme or variable conditions. Typical requirements call for air temps of 50–85°F and surface temps above 55°F. Cold temperatures prevent proper curing. Humidity can cause a cloudy residue that ruins subsequent coats.
Garages and basements fluctuate. Conditions that are fine at noon might be problematic by morning when temperatures drop. Always verify the dew point. If the surface is within 5°F of the dew point, moisture will interfere with bonding.
Applying the epoxy correctly.
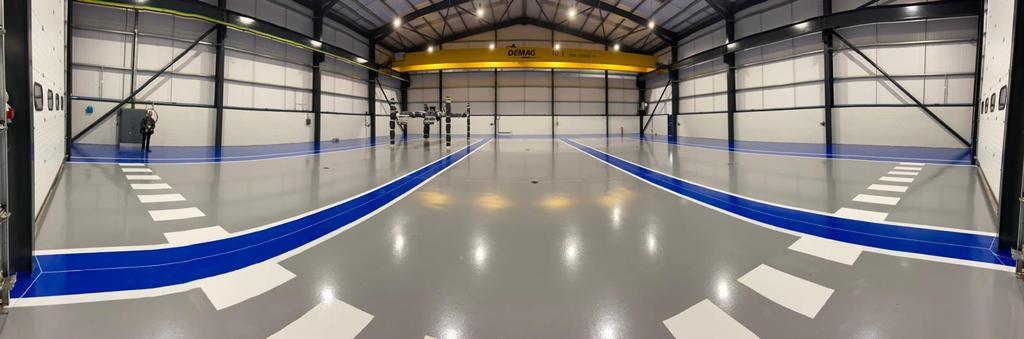
Cut in the edges with a brush first. Use a medium-nap roller for the main floor area. Roll in manageable sections, maintaining a wet edge throughout. Be efficient but precise. Epoxy holds texture and will show every mistake once it starts setting.
Good results require at least two applications. The first coat soaks into the slab and anchors the system. A second coat adds depth and completes the look. Flake finishes require a saturated base, a scraping step, and one or more topcoats. A polyaspartic or polyurethane finish coat is common for UV resistance and durability.
Polyaspartic vs. standard epoxy: a quick comparison.
Polyaspartics offer quick cure times, UV stability, and cold-weather flexibility. However, their working time can be very short — sometimes 20 minutes in the heat. Experienced installers prefer them. DIYers can find them difficult to manage. For most home DIYers working a garage floor, conventional solid epoxy is more forgiving.
What professionals do that DIYers skip.
Professionals use mil gauges to check coating thickness. Controlled spreading ensures the right amount of material per square foot. The distinction between solid epoxy and water-based products is well understood by pros. Water-based systems marketed as epoxy floor coatings are essentially enhanced latex — with limited chemical resistance. They are more user-friendly, but sacrifice durability.
Cracks are repaired before any product is applied. Surface cracks are routed or filled with epoxy paste and feathered flat. Structural cracks that show movement should be evaluated by a concrete repair specialist.
Waiting after installation is where most people make a costly mistake.
Most systems allow walking on the floor within a day. But vehicles? Most manufacturers recommend waiting at least 72 hours. Push it and you will embed tire marks you cannot remove. Full chemical cure takes up to 30 days. Avoid harsh solvents and heavy dragging across the surface during this period.
A well-planned, properly executed epoxy floor can last for decades. The reason it appears in demanding environments is because it delivers when installed correctly. The process is not hard, just unforgiving. Skip the details and you will be back at square one sooner than you think.